These instructions show you how to configure your Toika EW, ES or ES+ computer controlled dobby in WeavePoint.
Start WeavePoint. If you haven’t already done so activate your WeavePoint with Toika loom control licence by entering your User name and activation code. You will not be able to control a loom until you have done so.
From the menu click or tap on Weave > Options…
Now switch on your Toika ES or ES+ and plug the USB cable into your computer. If you have sound enabled you should be able to hear a bloop-bleep sound as the USB device is recognised by Windows.
Click or tap on the Find Com Ports button. This will scan your computer’s ports and identify the virtual Com port for your Toika ES or ES+. You then choose a detected port from the control below the button: in the image below you will see that we have chosen Com Port 5.
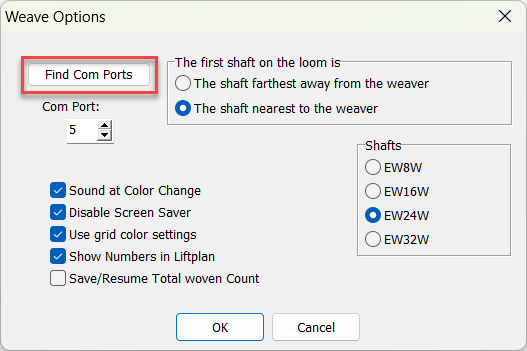
You may need to try a different Com port if more than one is detected and loom control doesn’t work with the first choice.
Now make sure that you choose the following settings:
The first shaft of the loom is : The shaft nearest to the weaver.
Shafts for your computer controller dobby. Note that although the selection shows the old EW models with true serial ports, you should still choose the correct number of shafts for your dobby:
| EW Model | ES Model | ES+ Model |
| EW8W | N/A | N/A |
| EW16W | ES16 | ES16+ |
| EW24W | ES24 | ES24+ |
| EW32W | ES32 | ES32+ |
☑ Sound at colour change : this reminds you to change shuttle or bobbin.
☑ Disable Screen Saver : this prevents your computer screen from “going to sleep” while weaving.
☑ Use grid colour settings : makes it easier to read the Weave screen.
☑ Show number in Liftplan : so you can confirm the correct shafts are lifted.
Click OK to save the loom settings.
Your Weave menu’s top line now lets you choose between Toika and Manual Loom. Make sure that you switch to Toika for dobby control.
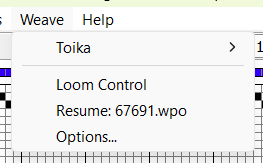
Now click or tap on Weave > Loom Control.

Most users will want to Find Repeat using Liftplan. In the example shown above this complex weave has a sequence 168 picks in the Liftplan to form the pattern, after which the dobby will return to pick 1 to repeat it.
Click or tap on OK to start weaving.
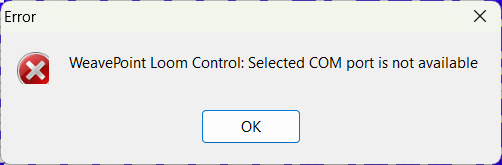
If you see the “Selected COM port is not available” error, you will need to go back to Weave > Options… and choose a different Com port. If no other Com port is available you should check that your Toika ES or ES+ is plugged in and powered on before clicking or tapping on Find Com Ports again. Still can’t weave? You will need to contact us for further assistance.